Personal information is easily retrievable from hard drives even long after they’ve been deleted so it’s essential to understand how to keep storage secure and erase it securely.
When a file is deleted, the space it was using is simply marked as available but the data itself still exists on the drive and it is possible to recover it using specialized tools or undelete programs. Formatting a drive overwrites only a smart portion of the drive and most of the information can still be retrieved.
All operating systems provide tools to make sure that what is gone stays gone, so let’s look at them.
Full disk encryption
Using full disk encryption makes sure that data is never written to storage in clear text so it complements defense against unintended information disclosure nicely. Due to the complicated nature of recent storage hardware, it’s not always that simple to wipe them. However, what’s never written to the disk cannot be read from it so this is where full disk encryption comes into the picture.
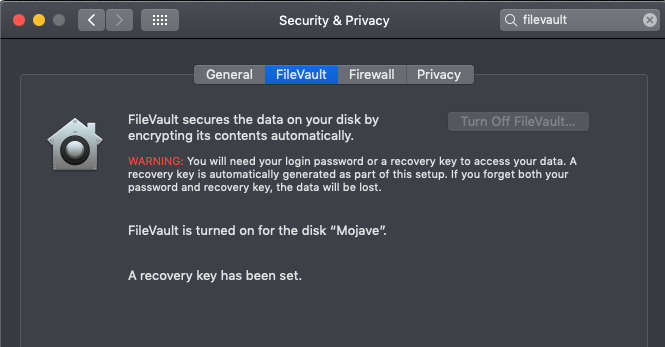
MacOS provides a built-in tool called FileVault that – once enabled – encrypts all data between the computer’s memory and its hard disk. It’s still a good idea to wipe the drive if the machine is changing owners but at least no information can be retrieved unless the machine is unlocked.
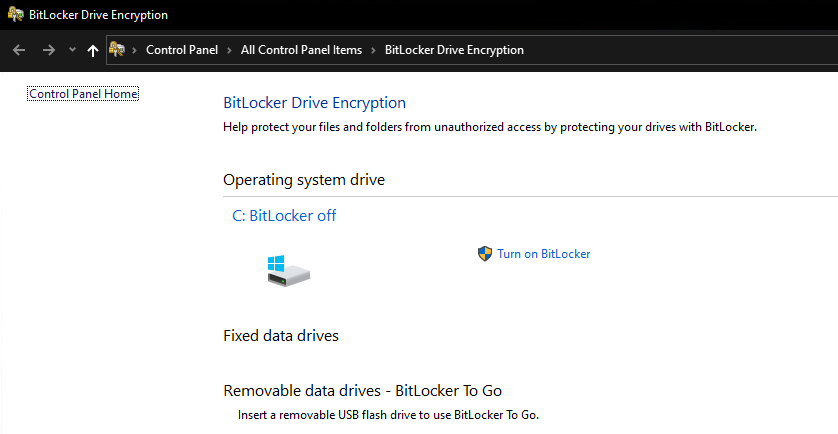
Windows full disk encryption is called Bitlocker but unfortunately, it’s only available in the professional version of Windows 10 – you can access it under “Bitlocker Drive Encryption” in the Control Panel. A simpler version called “Device encryption” can still be enabled in Windows 10 Home version but it requires TPM and doesn’t always work, however, when it does, it’s a useful tool to increase security.
In Linux, life is not that simple – already existing installations cannot currently be converted to an encrypted version and the installed flavor of the operating system should support encryption from the start. In Ubuntu 20, it requires LVM to be enabled at installation, and then it’s possible to enable full disk encryption.

Wiping free space
Overwriting free space is an easy way to really get rid of any information that was previously deleted. The process is similar to creating one big file that uses all free space on the disk then quickly delete it once the disk is full.
Whenever experimenting with various ways to destroy data, please make sure you BACK UP YOUR DATA before testing these methods because a simple typo or a computer glitch (or a mistake in these instructions) can cause data loss.
Apple’s diskutil manual has a useful bit of warning about the security of overwriting in recent devices that I’ll just quote here.
NOTE: This kind of secure erase is no longer considered safe. Modern devices have wear-leveling, block-sparing, and possibly-persistent cache hardware, which cannot be completely erased by these commands. The modern solution for quickly and securely erasing your data is encryption. Strongly-encrypted data can be instantly “erased” by destroying (or losing) the key (password), because this renders your data irretrievable in practical terms. Consider using APFS encryption (FileVault).
Apple’s OSX diskutil manual
When erasing a disk or parts of it, you need to make a choice between simply overwriting it with a single pass of zeros (simplest, least secure) or do multiple passes with random numbers to ensure total data loss. In my uneducated opinion a single pass should be enough because it’s next to impossible to recover anything that’s been overwritten without sci-fi tools, like electron microscopes and specialized high-tech equipment and even then it’s debatable whether it is possible.
In MacOSX, previous versions contained the “Secure Erase Free Space” feature in the Disk Utility but Apple in its infinite wisdom decided to remove it from the OS because they decided it wasn’t needed anymore due to other security features. However, it’s still possible to erase free space from the command line by using the “diskutil” command in the terminal.
diskutil secureErase freespace 1 /Volumes/MojaveIn this command above, 1 is the type of overwrite process from the list of the following ones:
        0 - Single-pass zeros.
        1 - Single-pass random numbers.
        2 - US DoD 7-pass secure erase.
        3 - Gutmann algorithm 35-pass secure erase.
        4 - US DoE 3-pass secure erase.
and MountPoint is the name of the drive where free space should be securely erased. It’s easy to see that simply omitting “freespace” from the command will wipe the whole drive so once again, make sure you have backups and think before you type.
Windows includes a tool called “cipher.exe” that can erase unused free space in a folder by simply opening a command prompt and running it with the /W parameter:
c:\>cipher /w:c:\
To remove as much data as possible, please close all other applications while
running CIPHER /W.
Writing 0x00
..................................
It will overwrite the free space area with three passes, 00s, FFs, then finally with random numbers.
Under Linux, you can simply create a file by using cat then deleting it when the disk is full.
cat /dev/zero > bigfile; sync; rm bigfile
cat /dev/urandom > bigfile; sync; rm bigfile
Modern filesystems (like ext4) store file meta-information and various other bits that are not possible to overwrite easily by using this method. The first one is using /dev/zero so it overwrites with 00 bytes, the second one is using random numbers.
Erasing the whole disk
Erasing a disk WILL render your system unbootable if it’s the system disk so that should only be done before reinstallation or when discarding storage. It also means that this cannot be completely done from “inside” a booted operating system.
Needless to say, this process will result in TOTAL DATA LOSS. In some cases, the only sure way to get rid of storage is to physically destroy the disk because wear leveling and SSD technology, in general, can leave bits of information available.
SSD manufacturers provide specialised tools that can erase an SSD for good. One of these is Samsung Magician for Samsung branded SSD drives, here: https://www.samsung.com/semiconductor/minisite/ssd/product/consumer/magician/
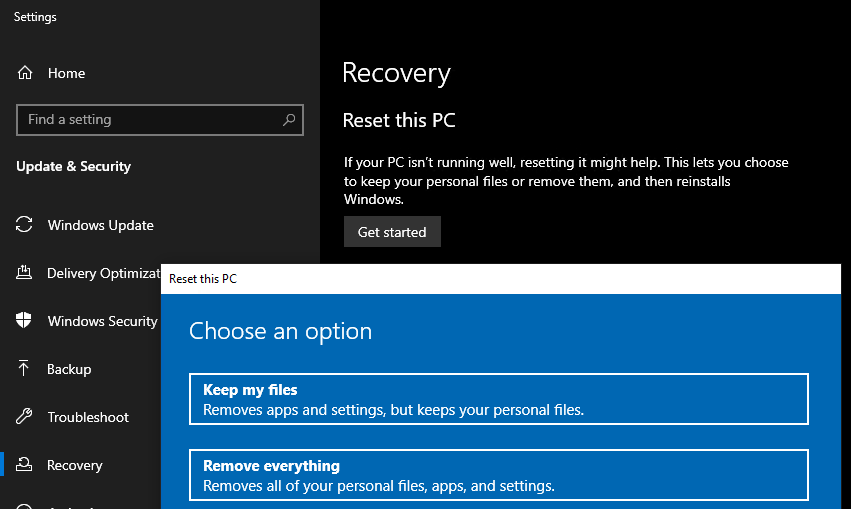
Windows 10 provides the “Reset this PC” utility that is capable of removing data from all drives, when selecting “Remove everything”
Formatting any other drive in Windows using FORMAT.EXE (the command line utility to format drives) now has the option to overwrite sectors when adding the /p:XX parameter. In Windows 7 it could only do 00s, In Windows 10 it overwrites first with 00s then with random numbers:
C:\> FORMAT /?
...
 /P:count        Zero every sector on the volume.  After that, the volume
                  will be overwritten "count" times using a different
                  random number each time.  If "count" is zero, no additional
                  overwrites are made after zeroing every sector.  This switch
                  is ignored when /Q is specified.
Under Linux, a simple “DD” command can overwrite a whole drive. It’s better to do this from a rescue system if the boot drive is the one to be wiped, to avoid having to overwrite the system disk that’s in use. Overwriting with zeros (should be run as root):
dd if=/dev/zero of=/dev/sda bs=1MThis command will overwrite the first disk (sda) irreversibly, including the partition table, etc. It can also use random numbers if “/dev/urandom” is used instead of “/dev/zero”.
MacOS used to provide a Disk Utility feature called “Secure Erase” but they’ve removed it (see above in the wiping free space section) but the Terminal method can still be used, for example, this will erase the second physical disk using one pass random numbers:
diskutil secureErase 1 /dev/disk1To erase your boot drive, you will need to boot your Mac into the Recovery Console (CMD+R at boot) and do it from there either using Disk Utility (if available) or opening a Terminal.